Installing Wafer Downlights
Installation instructions for Cync Wafer Downlights and Recessed Can Downlights
Quickly navigate to a specific section by selecting a link below:
Wafer Downlights
Recessed Can Downlights
Cync Wafer Downlight Installation
Follow the steps outlined in the Cync application by selecting Downlights on the device list, or in the Installation Guide that is included with your Cync Wafer Downlight.
BEFORE YOU INSTALL:
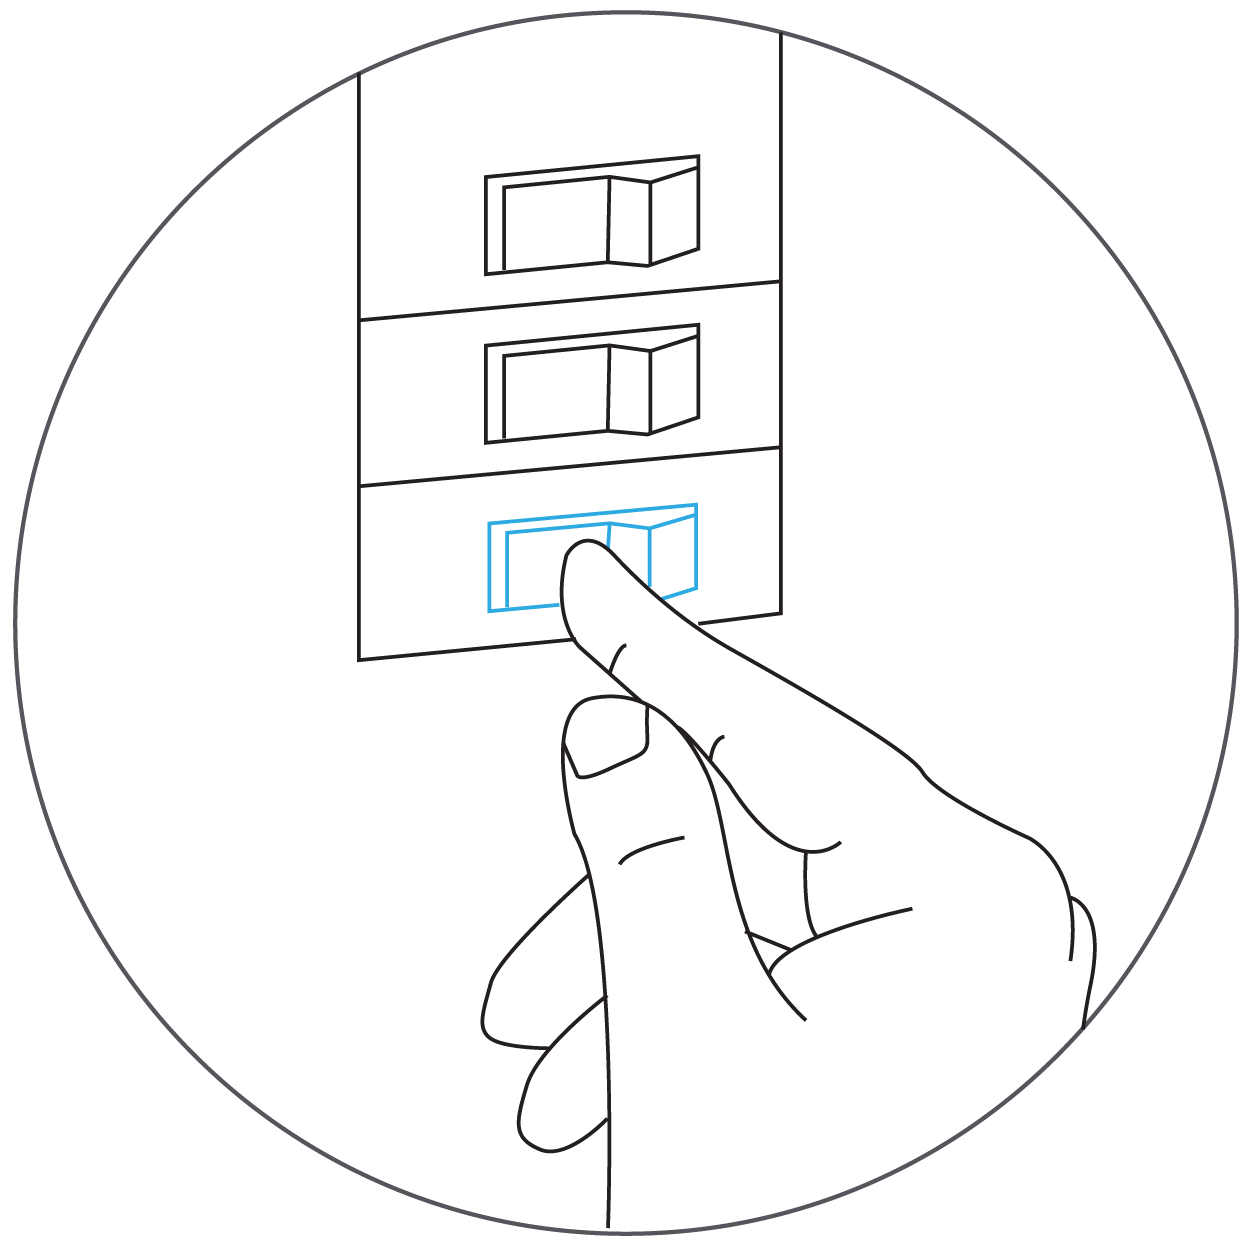
- Power off your circuit breaker and ensure that all equipment is fully powered off.
- Note that this fixture must be supplied with 120VAC 60Hz.
Installation and Wiring

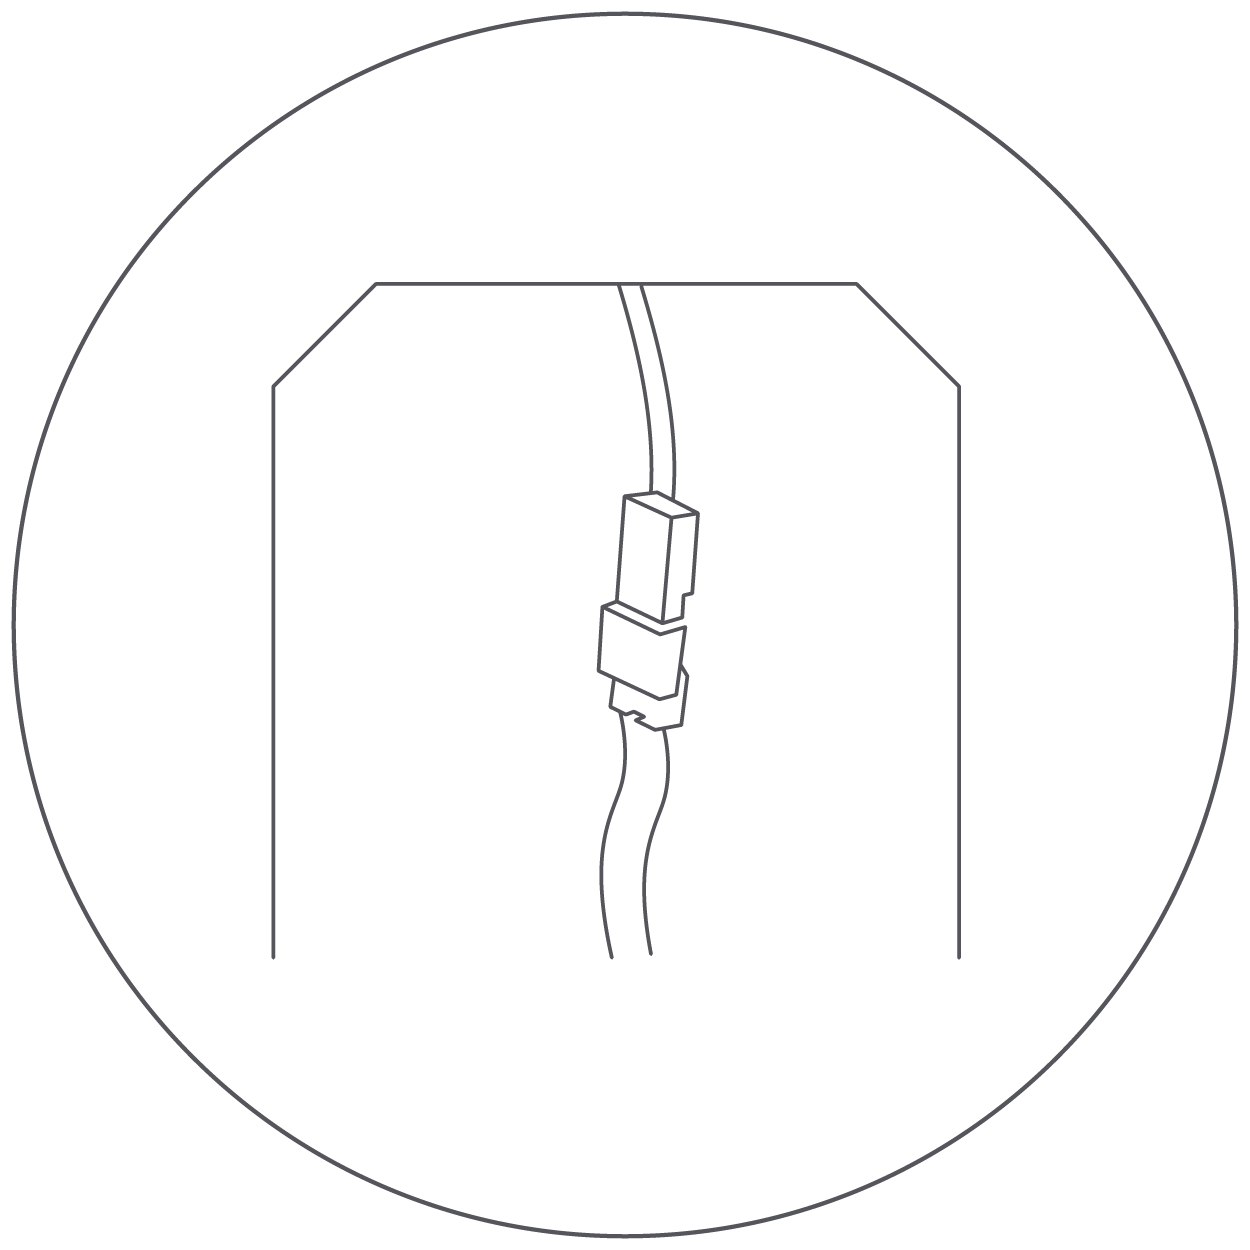
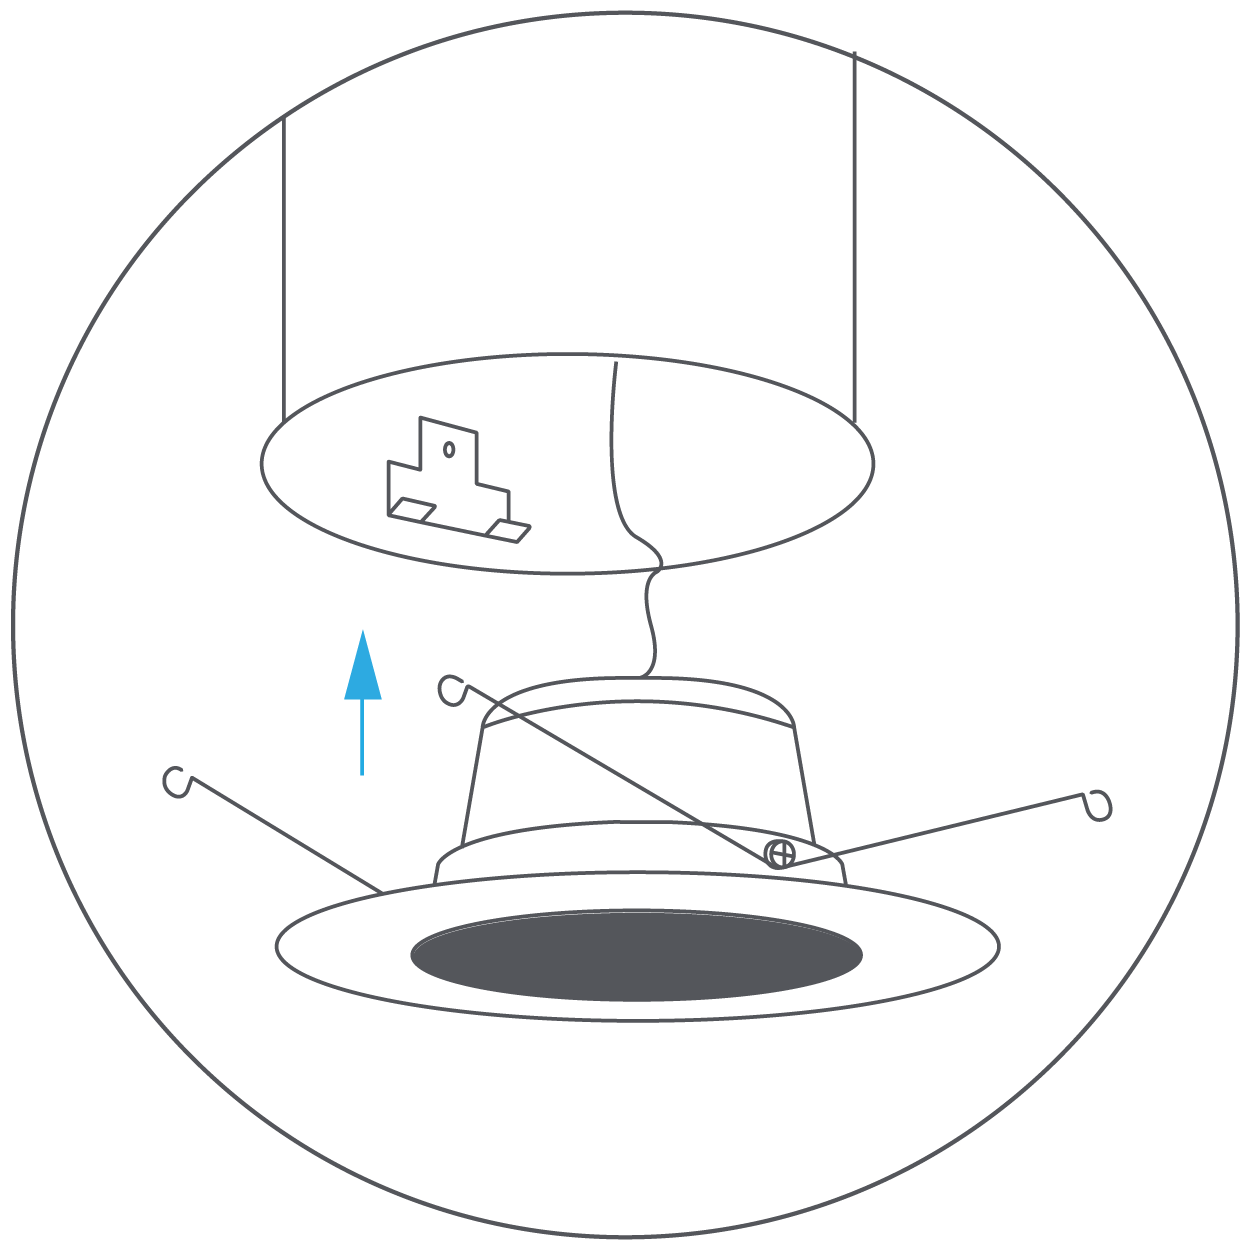
- With the knockout removed from the ceiling, open the junction box cover and route the wires through the strain relief (not included).
- Black to black.
- White to white.
- Green to green or bare copper wire.
Secure the wires with the provided wire nuts, and then close the junction box.
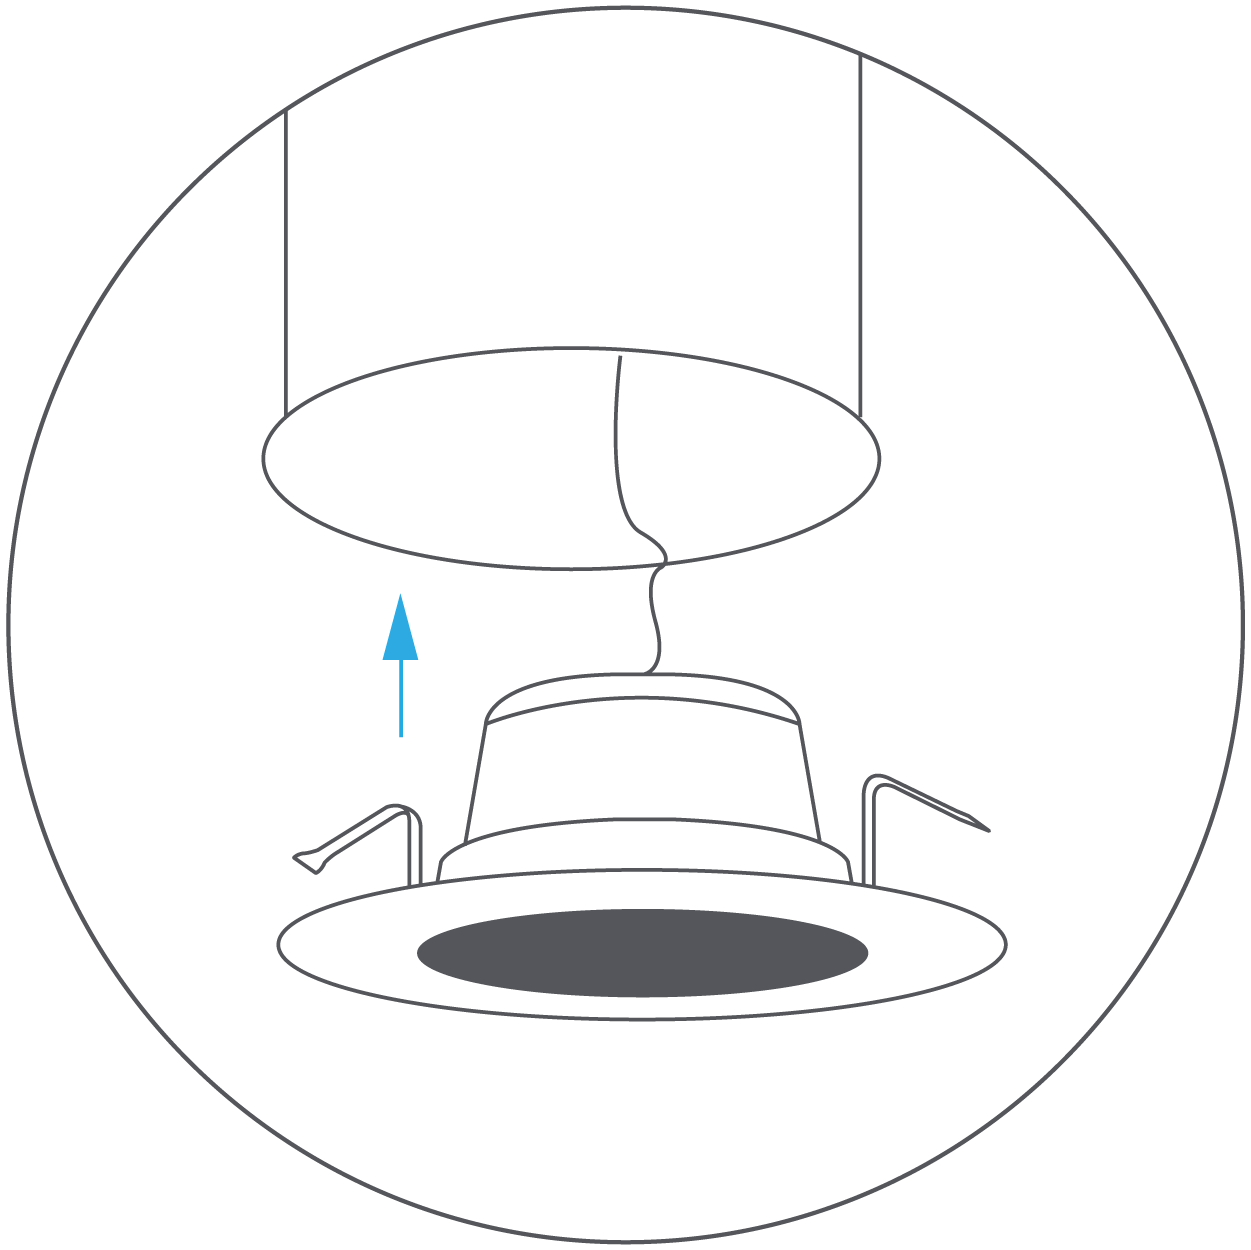
- Place the junction box in the ceiling through the knockout hole and connect the light to the junction box using the connector. Screw the connector together to complete the connection.
- Hold the spring clips against the fixture and gently guide it into the ceiling until the clips snap into place.
- The Wafer Downlight is now ready to be setup in your Cync app.
Troubleshooting
The wire colors on the Wafer Downlight do not match what I have in my ceiling.
If the wire colors are not matching the ones on your Wafer Downlight or you are missing wires, you may have an older model of home. Contact your local electrician for wiring assistance.
Recessed Can Downlight Installation
Follow the steps outlined in the Cync application or in the Installation Guide that is included with your Cync Recessed Can Downlight.
BEFORE YOU INSTALL:
- Power off your circuit breaker and ensure that all equipment is fully powered off.
- Note that this fixture must be supplied with 120VAC 60Hz.
The Recessed Downlight is designed to install in most 6 in and 5 in recessed housing. Use either the torsion spring or flip clip to install your Cync Recessed Can Downlight. Instructions for both mounting methods are described below.
Housing with Torsion Bracket
- Remove existing trim and bulb from the lamp you wish to replace with a Cync Recessed Can Downlight.
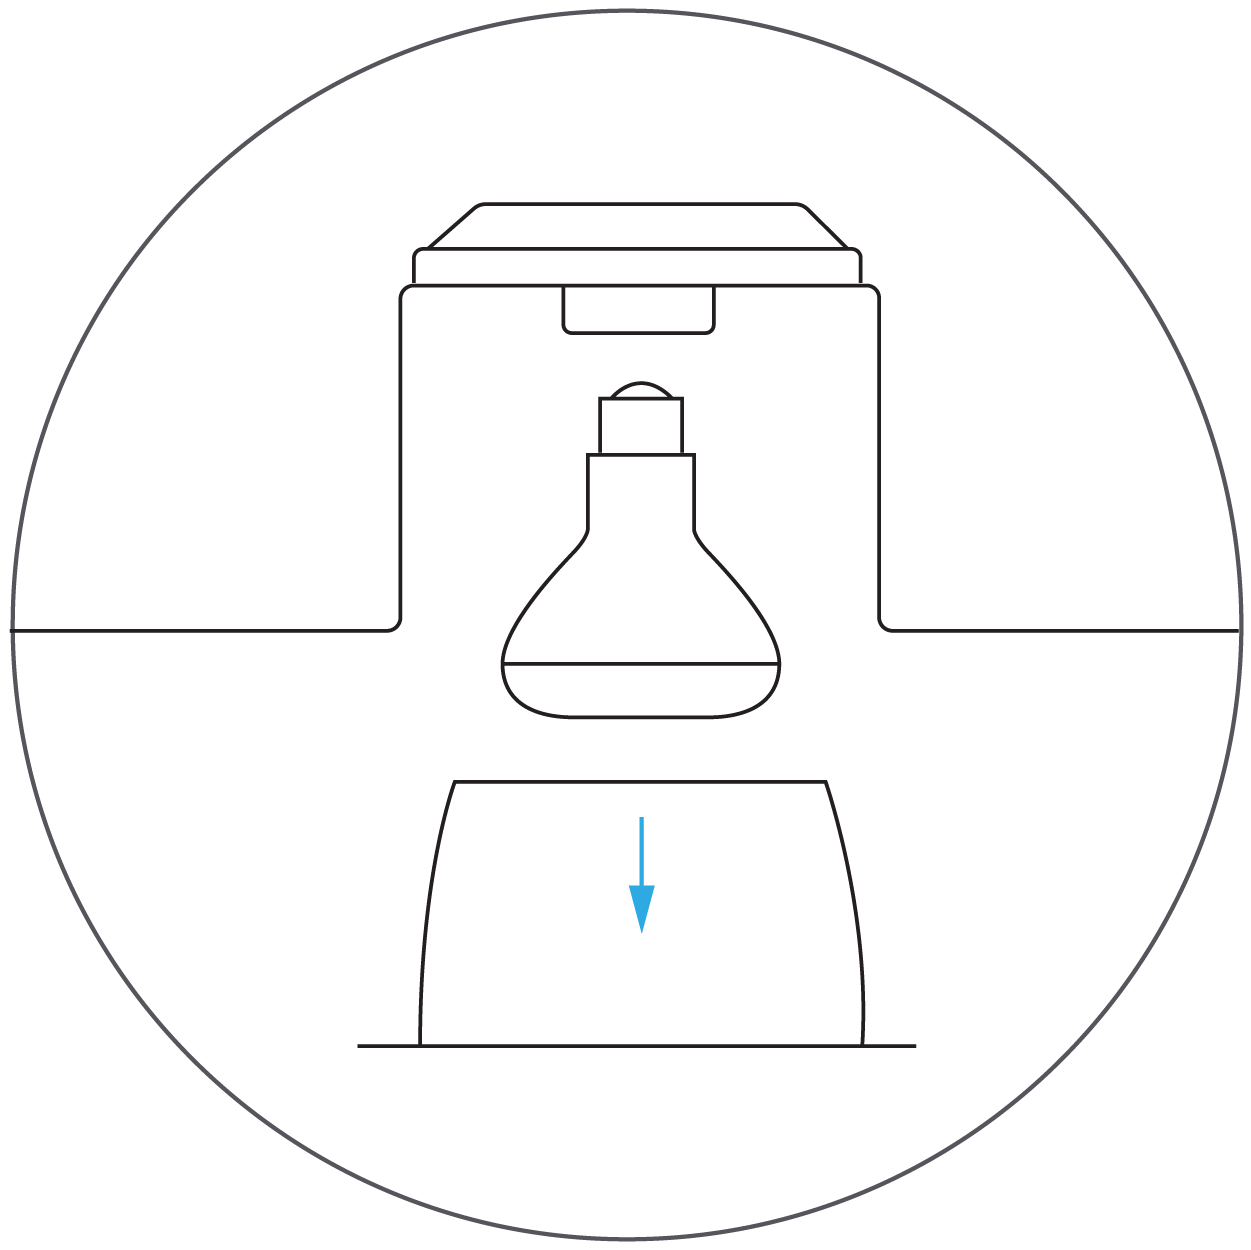
- Cync Recessed Can Downlights are compatible with medium base sockets and connectors. Confirm your existing housing has one of these options.
- Medium (E26) Base Sockets: Screw the E26 base of the downlight into the existing socket. Then insert the connector into the E26 base.

- Medium (E26) Base Sockets: Screw the E26 base of the downlight into the existing socket. Then insert the connector into the E26 base.
- Connectors: Mate the connector from the existing housing with the terminal directly on the fixture.
- Use the manufacturer's torsion springs for installation. These are pre-installed on the Cync Recessed Can Downlight.
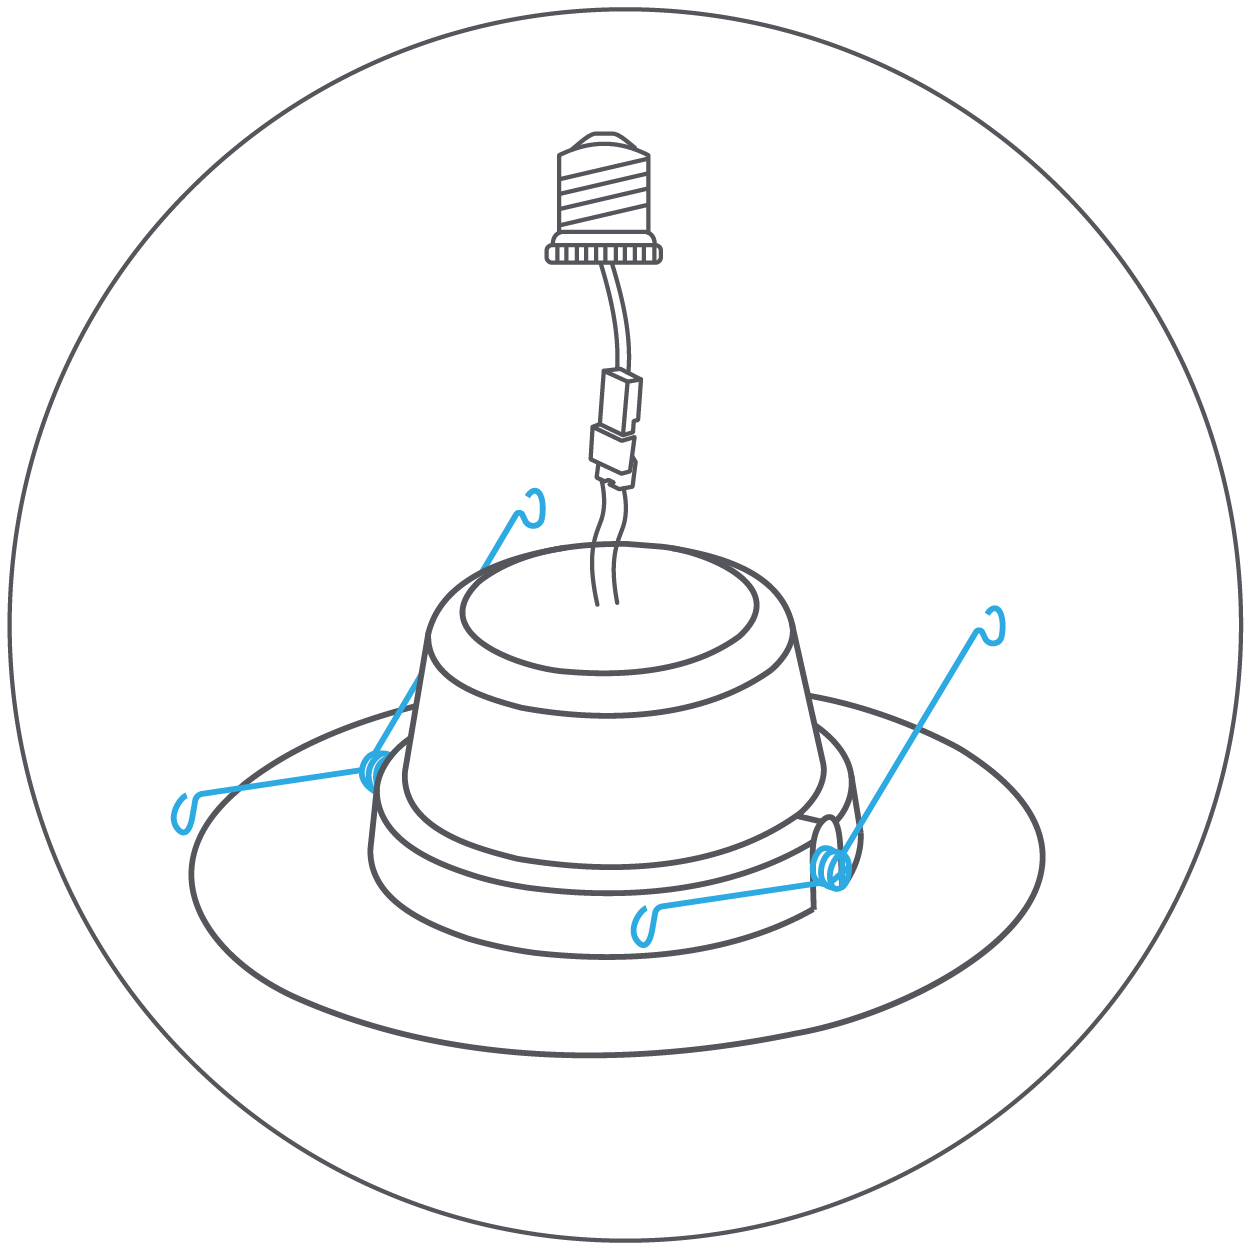
- Check that the torsion springs are firmly attached to the Cync Recessed Can Downlight. Compress torsion springs and insert into the bracket inside the housing. Release springs and gently push up until flush with the ceiling.
Housing with Flip Clips
- Remove existing trim and bulb from the lamp you wish to replace with a Cync Recessed Can Downlight.
- Cync Recessed Can Downlights are compatible with medium base sockets and connectors. Confirm your existing housing has one of these options.
- Medium (E26) Base Sockets: Screw the E26 base of the downlight into the existing socket. Then insert the connector into the E26 base.
- Medium (E26) Base Sockets: Screw the E26 base of the downlight into the existing socket. Then insert the connector into the E26 base.
- Connectors: Mate the connector from the existing housing with the terminal directly on the fixture.
- Replace the torsion springs with the flip clips included in the packaging using a screwdriver.
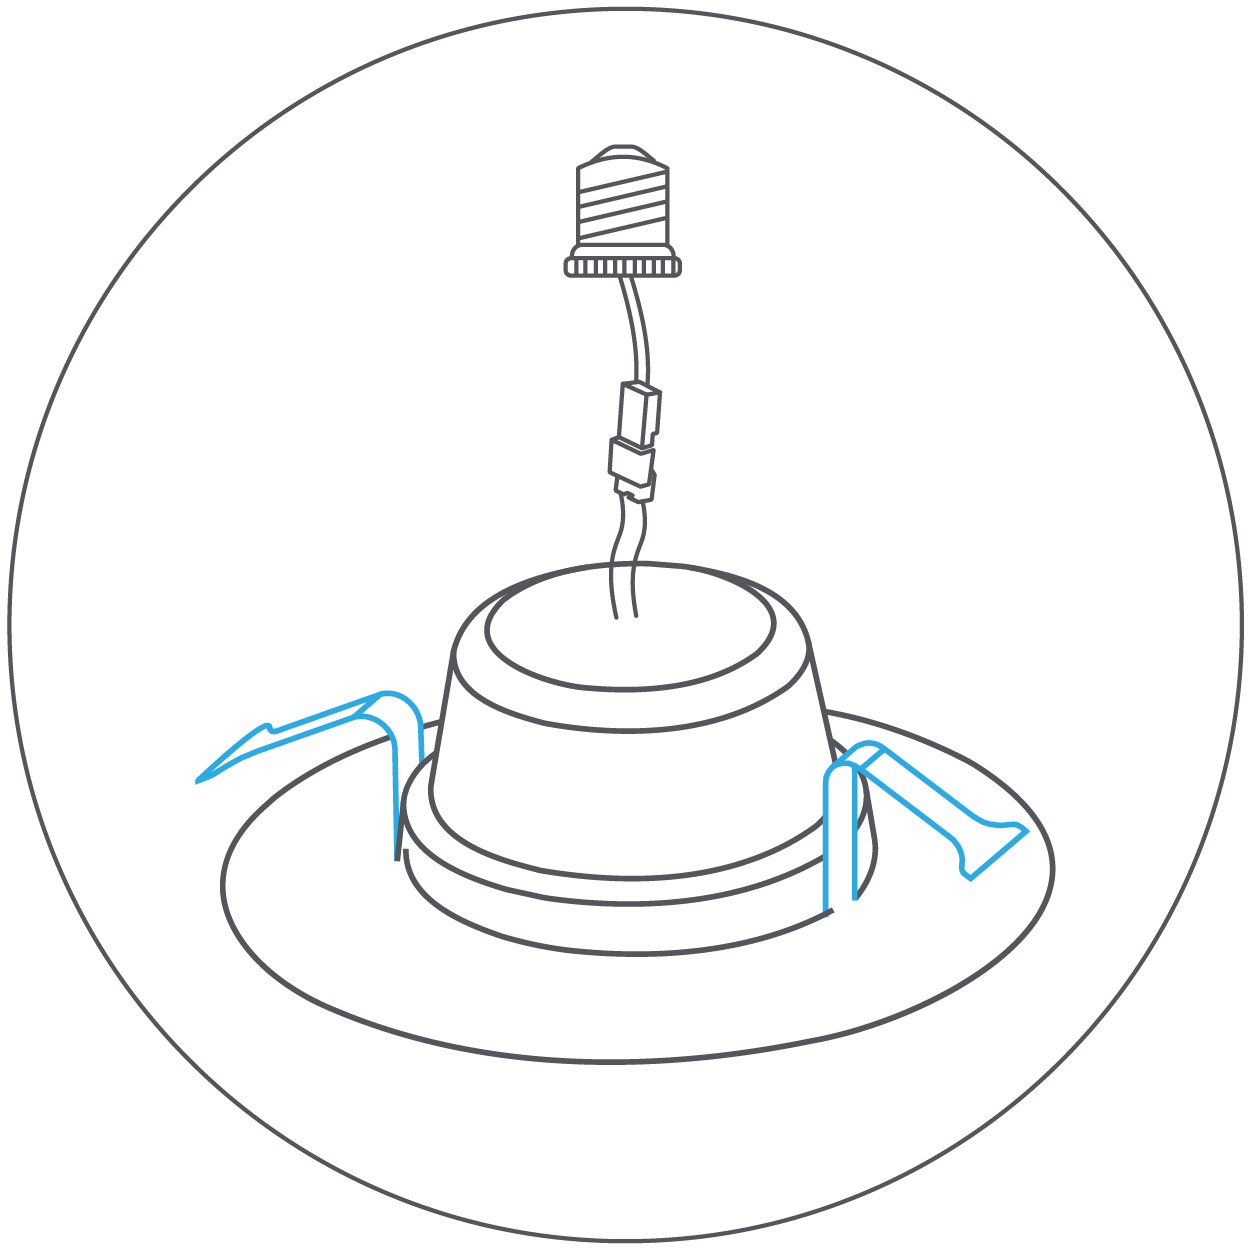
- Check that the flip clips are firmly attached to the Cync Recessed Can Downlight. Center the fixture in the housing opening and gently push up until flush with the ceiling.